My mother-in-law and I were at Target the other day and we saw these cute little felt Easter bags in the dollar spot. I was so tempted to buy one for each of my kids but decided that I could make my own and it wouldn't even cost me a dollar per bag. So, I bought a little more felt and used some that I already had and when I am finished I will have two Eater bags for approximately $1.40. So, it's not a whole lot cheeper than the ones at Target but these are handmade with love AND personalized.
Here's my first attempt at a tutorial for those of you out there who'd like to make your own Target knock-off Easter bag. Please know that I'm not a perfectionist nor do I really know that much about sewing, so take that into consideration while reading/following this tutorial. I took two pieces of 9x12 felt and cut off two inches from the shorter side, these will be your handles.

Fold the handles in half and sew 1/4 inch from the edge (no need to turn under since felt does not fray). Then sew 1/4 in on the other side too, so you have two seams on the handle (the second seam just makes it look better, there's no real use for it).

Next, take the two big pieces together and sew along the two shorter sides. (Sorry that I switched colors I decided to work on Micah's bag first...hence the blue.)
Cut a square off each bottom corner (I made 1 1/2 inch squares) and then stitch the bottom pieces together. Squish the square together and sew, this will be the bottom of the bag. (Sorry for the bad photo, my nice camera is in the shop so I had to use my little digital!)
 This is what it will look like once you've sewn the bottom pieces together.
Now turn the back right side out and you're all set (for the most part)

I like to make my bags a little studier so I find the corners and sew a seam all the way up from the corners. This makes the bag more rigid. Just make sure to backstitch at all ends since little kids will be playing with this. You want to make it as sturdy as possible.

Just another view with the outside edges stitched.

Next, add your handles. I just picked a place where I thought they looked good and stitched them on. I used a continuous stitch and made sure to backstitch at the beginning and the end. I also added a little "X" in the middle to make it look a little better. The trick that I've found for making handles go the right way is to hold the piece that is going to be the handle flat in front of you and then just drop your hands down towards each other and you should get your handles going the right way.

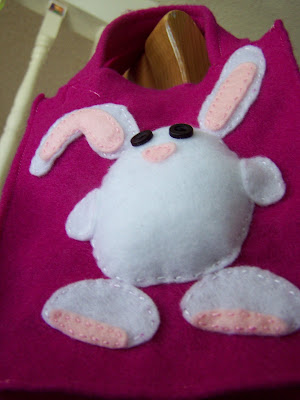
Once the bag was finished I hand sewed on a little chick and an M on Micah's bag. I made a document with some bunnies (I'm using the white one for Naomi's bag) and a chick to copy and letters to trace for the bags. I just eyeballed the animals but cut out the letters and actually traced them onto the felt.

Then it came time to get this on their Easter bags. First I sewed the eyes and beak onto the large yellow body, then I sewed the legs onto the bag followed by the wings and the little tuft at the top. Then I sewed the body on and before closing it all the way I added some poly-fill to make the bag pop!


This project really didn't take me too long and it was great to work on while sitting outside watching the kids play and an easy project to do while watching TV (once the initial bag is sewn that is.) Let me know if something is not clear and I'll try to clarify. I'll post pictures later of Naomi's bag. I'm hoping to get it finished tonight!
Micah seems to like his Easter bag already!

I hope to do more of these in the future....tutorials that is.


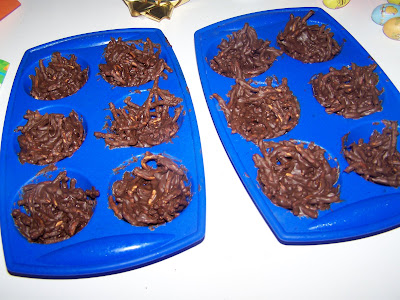


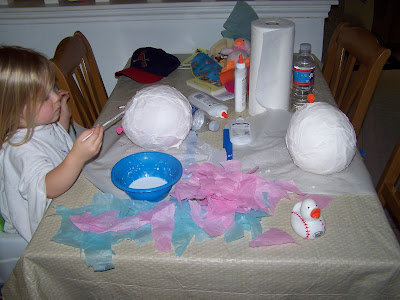


 Naomi had a great time painting with the glue and painted for quite a while after we were actually done with our balloons. She said she was making a pretend balloon!



 I agreed to buy a table for my local PTA's Craft Fair fundraiser. I will set up a small display for my photography and also show my felt food and take some custom orders. Hopefully it'll be a little successful!


 Posts
Posts


